
Easiest Way to Adjust Your Kick Scooter Handlebar
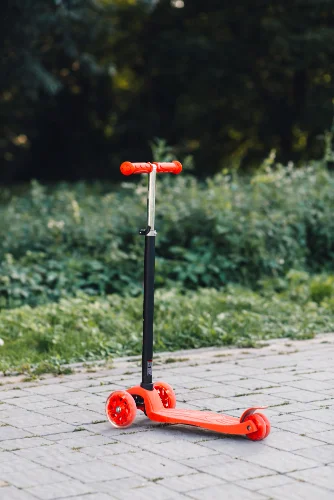
A kick scooter handlebar is the part of the scooter that you hold on to while riding. It is important to adjust the handlebar to the right height for you so that you are comfortable and in control while riding. Adjusting your kick scooter’s handlebar to fit your height can sometimes be difficult, but there are some simple ways to make sure it’s done properly so you can enjoy the full benefits of your ride. Check out below easy peasy steps on how to adjust your kick scooter handlebar and keep on rolling!
Step 1: Measure your handlebar from end to end
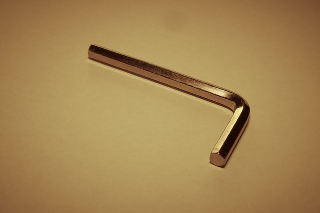
You can use a tape measure to measure the height of your scooter handlebar. To adjust the height of your handlebar, you will need a hex wrench (or Allen key) and an adjustable wrench. First, loosen the bolts at each end with the adjustable wrench. Then using the hex wrench (or Allen key), turn the bolt on one end to raise or lower that end of your handlebar. Turn it as far as you want until it is at a comfortable height for you to ride.
Step 2: Find the adjustable part of your bar
When you’re trying to find the adjustable part of your scooter, look for the height marker at the end of the handlebars. The height marker is usually a number or arrow that will tell you how high or low you want your handlebars. You can choose what height feels most comfortable for your height and skill level, but we recommend starting out with them a little lower so that it’s easier to get on and off.
Step 3: Loosen the bolt by hand
Start by loosening the bolt on the handlebars. If you can’t loosen it with your hands, use an allen key to gently twist and remove it. It might take a few tries to get the bolt loose enough to adjust.
Step 4: Pull on both ends of the bar gently until it’s where you want it
You can adjust the height of your kick scooter handlebars by pulling on both ends of the bar gently until it’s where you want it. If you have low handlebars, make sure to wear shoes that cover your ankles, or they might get caught in the wheels and twist your ankle.
Step 5: Tighten up the nut/bolt again until it feels secure (but not too tight!)
Once the scooter handlebar height is where you want it, tighten up the nut/bolt again until it feels secure (but not too tight!) and test out your scoot. If you’re still having trouble with stability, you can try adjusting the front fork as well. Be sure to also check for any loose bolts or screws on your scoot as these could be what’s causing instability issues!
Test out your new height.
Does it feel right? If so, you are good to go! If not, repeat steps 3 – 5 until you have reached an ideal position.
CONCLUSION
Kick scooter handlebar height is important in order to maintain a healthy and comfortable ride. The right placement of the handlebar will also help you avoid injury. You don’t want your feet lifting off the kick scooter deck when you’re going fast or when making sharp turns, for example. Achieving this balance takes some adjusting, but it’s worth it!


One Comment